How to Repair Truck Tarpaulin – Complete DIY Guide for PVC & Canvas Materials
I. Pre-Repair Preparation WorkBefore repair, comprehensively assess the tarpaulin damage condition, distinguishing types such as tearing, aging, or metal component damage. Prepare the following tools and materials: Basic tools: scissors, scraper, brush, pressure rollerRepair materials: specialized tarpaulin adhesive patches, PVC repair strips, polyurethane adhesiveSafety protection: anti-slip gloves, protective goggles, work clothesCleaning supplies: neutral cleaning agent,…
I. Pre-Repair Preparation Work
Before repair, comprehensively assess the tarpaulin damage condition, distinguishing types such as tearing, aging, or metal component damage. Prepare the following tools and materials:
Basic tools: scissors, scraper, brush, pressure roller
Repair materials: specialized tarpaulin adhesive patches, PVC repair strips, polyurethane adhesive
Safety protection: anti-slip gloves, protective goggles, work clothes
Cleaning supplies: neutral cleaning agent, sponge, high-pressure water gun (low-pressure mode)
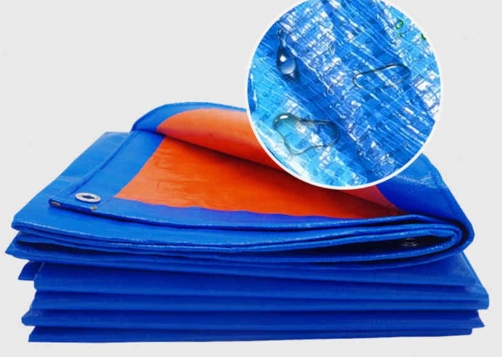
Key reminder: When selecting repair materials, ensure compatibility with the original tarpaulin material. PVC materials require PVC-specific adhesive, while polyester canvas is suitable for polyurethane adhesive. Avoid secondary cracking due to material incompatibility.
II. Step-by-Step Repair Operation Process
Step 1: Cleaning and Drying Treatment
Thoroughly clean the damaged area and at least 15 centimeters of the surrounding area using a neutral cleaning agent to remove mud, sand, and oil stains. Allow to air-dry naturally or use low-temperature drying. Construction on damp surfaces is strictly prohibited, as it will affect bonding strength.
Step 2: Pre-Treatment of Damaged Area
Trim and tidy the torn area, cutting off frayed edges to form a regular shape
Sand the repair area with sandpaper to increase the roughness of the material attachment surface
Use compressed air to remove debris generated from sanding
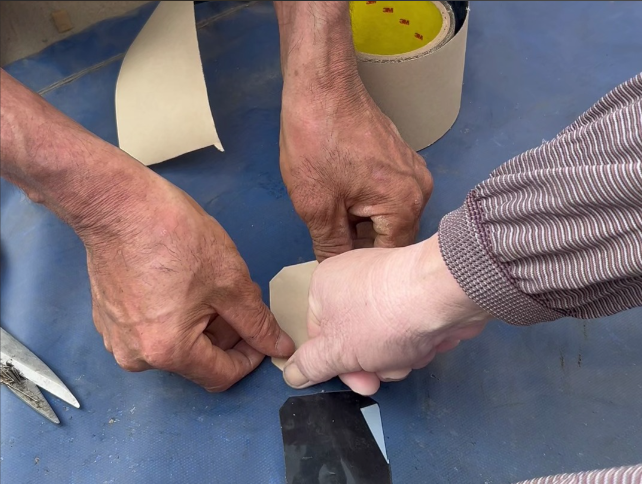
Step 3: Repair Construction Operation
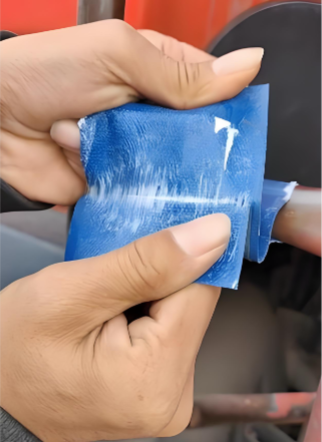
Small Hole Repair (Diameter < 3cm):
Apply a waterproof patch to the back of the hole
Apply sealant to the front and smooth it out
Let it cure for 24 hours
Linear Tear Repair (Length > 5cm):
Place reinforced repair strips on both sides
Use a straddle seam pasting method, with edges extending 4-5cm beyond the damaged area
Use a roller to press bidirectionally to eliminate air bubbles
Step 4: Reinforcement and Inspection
Perform secondary reinforcement on stress concentration areas such as seams and hanging points. After completing the repair, conduct a water spray test: continuously spray water for 10 minutes to check for leakage.
III. Daily Maintenance and Storage Standards
Clean surface dust promptly after each unloading
Monthly inspection of tarpaulin rope buckles and metal rings for firmness
Avoid contact with sharp objects and corrosive substances
When storing long-term, fold neatly and place in a cool, ventilated area
Recommend waterproof coating maintenance every six months
IV. Special Situation Response Plans
Winter Low-Temperature Environments: Preheat adhesive to above 15°C before construction
Emergency Treatment During Rainy Season: Temporarily use double-sided waterproof tape, and reapply standard construction after the weather clears
Large-Area Damage: When the damaged area exceeds 30%, recommend replacing the entire tarpaulin
Through systematic repair processes and regular maintenance, the service life of the tarpaulin can be effectively extended by 2-3 years, significantly reducing cargo damage risks during transportation.